This week, we take a look at how to organize our three.js code using classes inside of Webflow.
Codepen: https://codesandbox.io/s/three-js-in-webflow-part-3-1pvc9e
Join the Discord: https://discord.gg/WWfVjMhSjx
Playlist: https://www.youtube.com/playlist?list=PLlufJ1b4uSqWrBr6ShGhEcb5TcAAnmnVw
A few weeks ago, we took a look at how to bring three.js into Webflow projects. We started by creating a simple project and and laying out the basic structure of a three.js scene into actually how we bring that merge that with the HTML. I thought now would be a great time to take a look at organizing our code using JavaScript classes. So if you know nothing about classes this will be a good way to get the basics down.
We’ve been working inside of Code Sandbox the through this project and then copying over to an embed element inside a Webflow. If you don’t know how to do that, again, I suggest you go back into the previous episodes.
Creating a Class
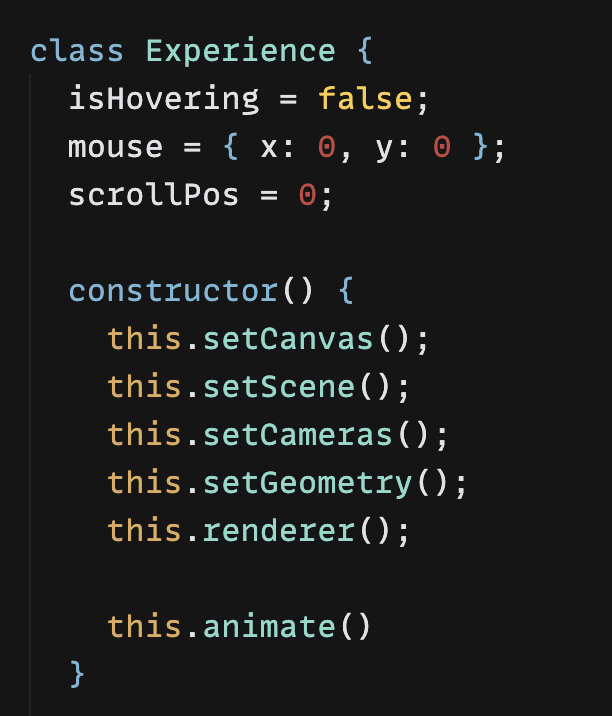
We can start to write our class by simply writing class and let’s just give this a class name, which… Let’s just give it the class name Experience. It’s not important.
The second most important function inside of a class is the constructor. This is a function that automatically gets called when you instantiate (load) a new class.
If we log hello world in this constructor you’ll notice that there’s appearing in the console. We need to instantiate this class and we can do this by using the new keyword a you’ll see that we have our constructive function being called automatically on loading and hello world in the console.

Passing the class values
We can actually passed this class values just like any other function.
Every time you instantiate a new class, you’re creating a new instance (copy) of that class so passing it values is a good way to give variance to that unique instance. You’ll see this a lot in Three as it relies heavily on classes.
We wont be using classes in this way though so just a handy bit of knowledge.
What Do We Use The Constructor For?
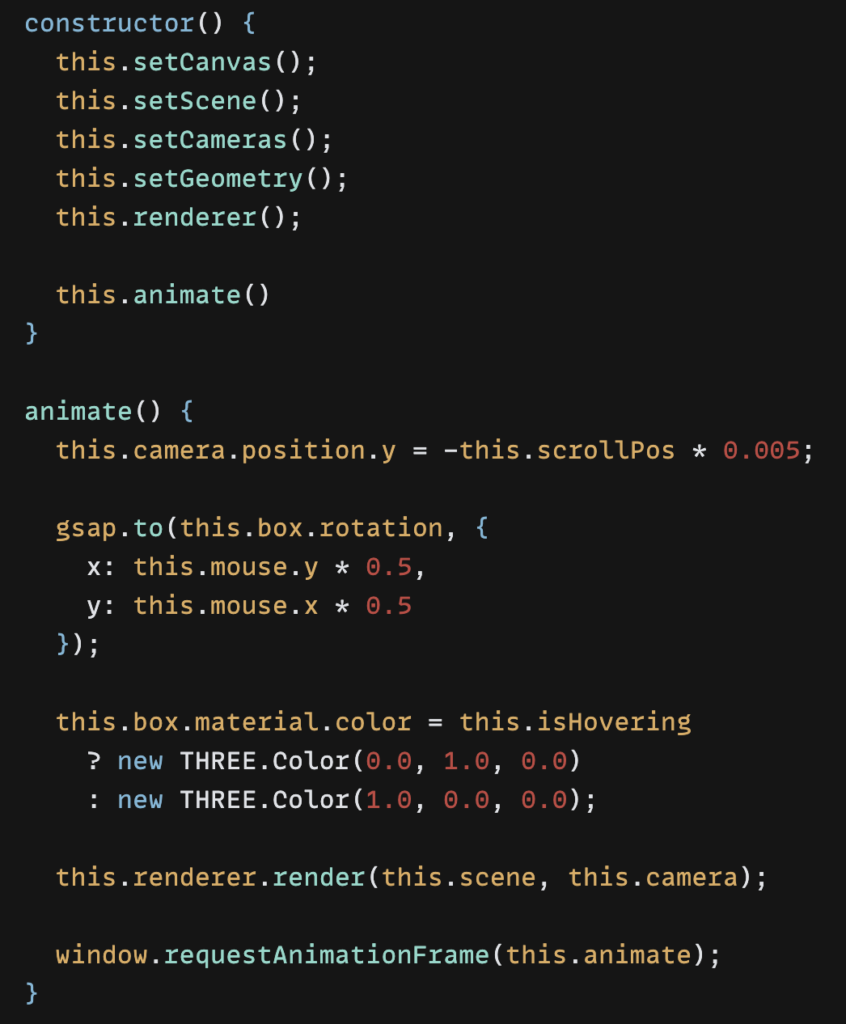
We’re going to be calling all the important methods from inside the constructor and that’s how we’re going to start to break this three.js code apart to make it more readable.
We’ve got our scene, we’ve got cameras, we’ve got geometry, we’ve got our rendering, and we’ve got some event listeners so that’s how we’re going break it up.
Breaking up our key elements
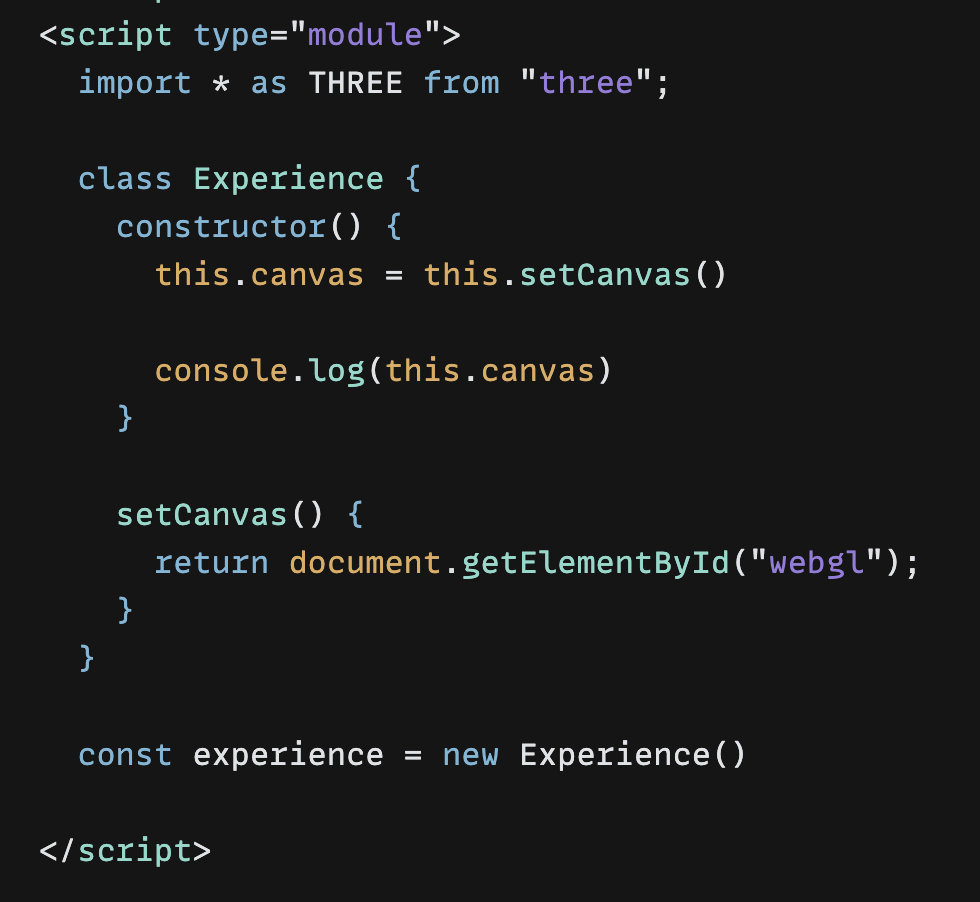
The first thing we’re going do is set our Canvas. by making a setCanvas function inside of our class and putting our canvas creation inside of that function.
The Importance of this
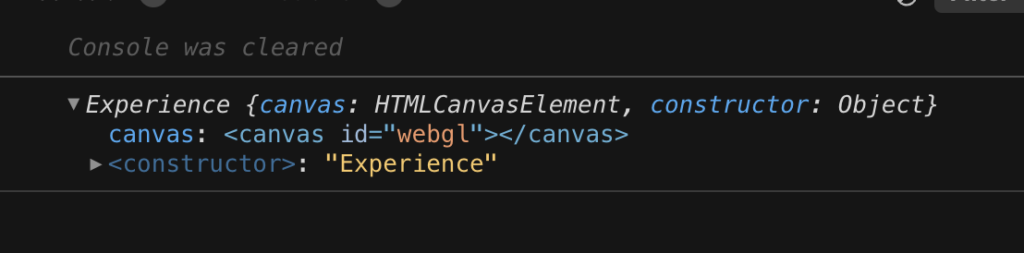
The important thing to know is that within a class, we have the concept of this and it gets hard to teach when you talk about ‘this’ and ‘this’ all the time, but this applies to the class itself. Whatever we set on the class via this is then accessible anywhere else in the class. For example, now, what I’m gonna do I’m gonna I’m gonna type this.canvas = this.setCanvas(). And return within the setCanvas method return document.getElementById("webgl") and console.log(this.canvas) then you can see that we’re logging our canvas in here.
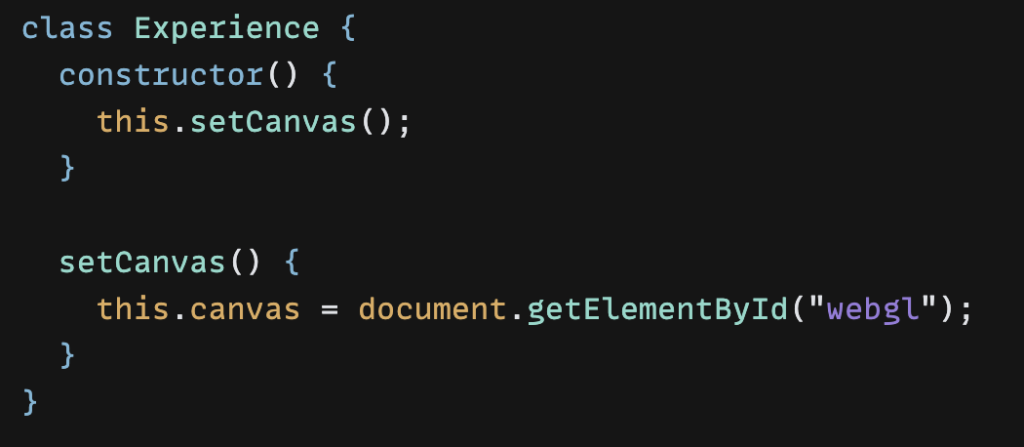
Alternatively, we can simply call this function and then there, set the canvas. This is exactly the same thing. Nothing changes. It’s whatever you prefer it to do. Personally, I kind prefer this. It just looks a little bit cleaner.
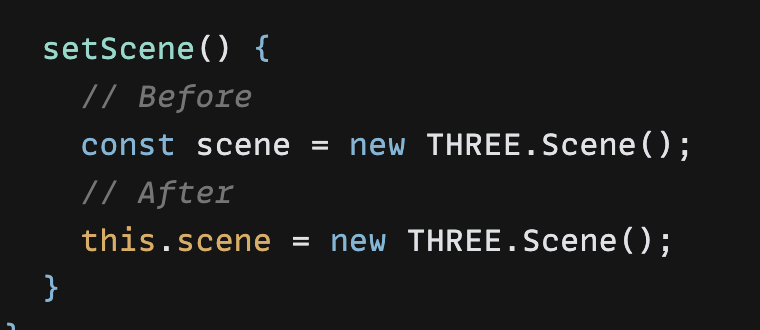
Our Scene
More of the same, really. this.scene = this.setScene(). So you can see instead of const, we’re basically replacing it with this. whatever. And then call that in the constructor.
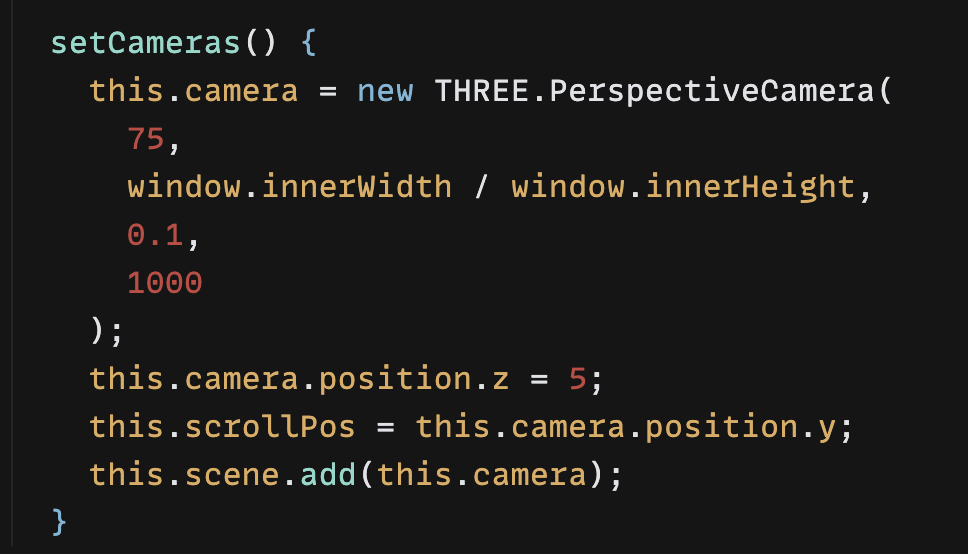
Cameras
To set the cameras we need to say this.camera and this.scene as we can access scene from within this function as it’s set on the class via this, our camera is no longer camera. It’s this.camera.
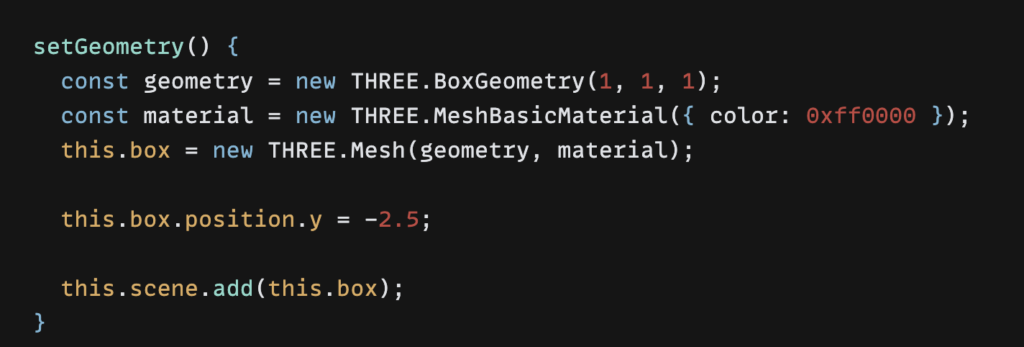
Geometry and When Not To Use this
Inside of the geometry, I want to change this.box because we want to access the box outside of the setGeometry method, but we don’t necessarily care about material or geometry. We can leave those scoped within that function.
Continue this process with the renderer too and the animate function.
Global Variables
We can set global variables on the class object inside of the constructor. So this.mouse and this.isHovering, and this.scrollPosition.

Alternatively we can set them directly on the class object which I prefer.
Events
Now let’s copy our events into the setEvents function. We can leave the functions these events call there but I think it’s cleaner to break those functions out further.
So let’s take this resize function. We can break this out into our their own functions, which might may or may not read a little bit more clearer.
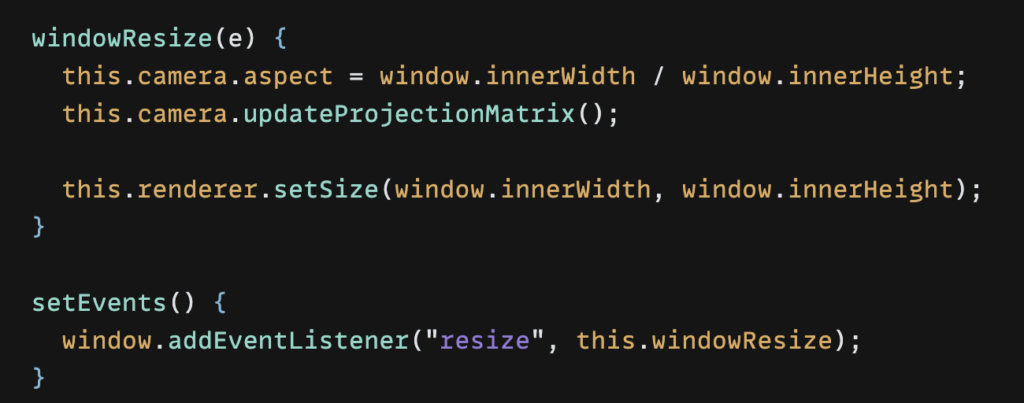
We need to then update this camera and renderer. Rinse and repeat for all events.
Changing the Context of this
Because we are essentially using traditional function calls inside of these events we actually change what this is inside those functions. It now becomes the window (or wherever we add the event listener but we need to redefine this as the class and we can do that with bind.
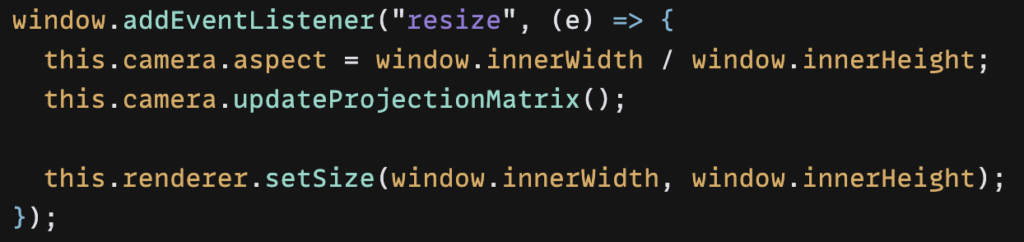
When we used arrow functions on the event listener, this does not change the lexical scope of this so there was no need for bind here.
thisA clean way to do this is set bind on the functions above all the method calls in the constructor like so…
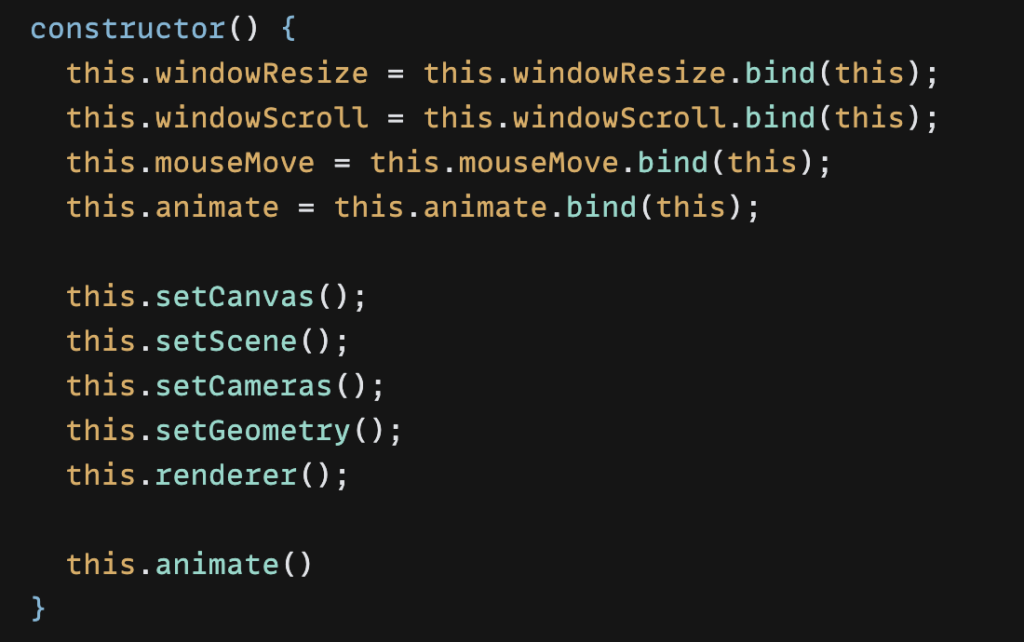
This way whenever these functions are called this is always bound as the class.
It’s worth doing a bit of cleanup but if all works then you’re ready to copy this into your embed element inside of Webflow!
Codepen: https://codesandbox.io/s/three-js-in-webflow-part-3-1pvc9e
Join the Discord: https://discord.gg/WWfVjMhSjx
Playlist: https://www.youtube.com/playlist?list=PLlufJ1b4uSqWrBr6ShGhEcb5TcAAnmnVw